Introduction
The Orange Radio is a Raspberry Pi Radio made from an Orange Miniamp

For this project, I chose the Orange CR6S Amp for the enclosure, this amp is quite cheap and has a f***** english retro style. Of course, you can build your own 3D printed enclosure, or take an old Radio…
Hardware
The Raspberry Pi Zero makes the perfect match for the project’s brain. The Zero is a super-small, hackable, and ultra-low-cost computer, with mini-HDMI, micro-B OTG USB, and the same 40-pin GPIO as its bigger brothers.
Unfortunately it has no builtin audio output, so I stacked a Primoroni PHAT DAC to add audio capabilities. This pHAT provides a super affordable high-quality DAC for the Raspberry Pi. It pumps out 24-bits at 192KHz from the Raspberry Pi’s I2S interface on its 2x20 pin GPIO header.
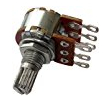
Since the pHat has no hardware volume control, and as Volumio doesn’t like Specific ALSA Tuning (Software Mix), I added a Dual Logarithmic Potentiometer to control the audio output from Left and Right Channels.
An Adafruit 3W Amp will amplify the PHAT DAC signal, this MAX08357 I2S Amp Breakout is able to deliver 3.2 Watts of power into a 4 ohm impedance speaker (5V power @ 10% THD). Inside the miniature chip is a class D controller, able to run from 2.7V-5.5VDC.
Software
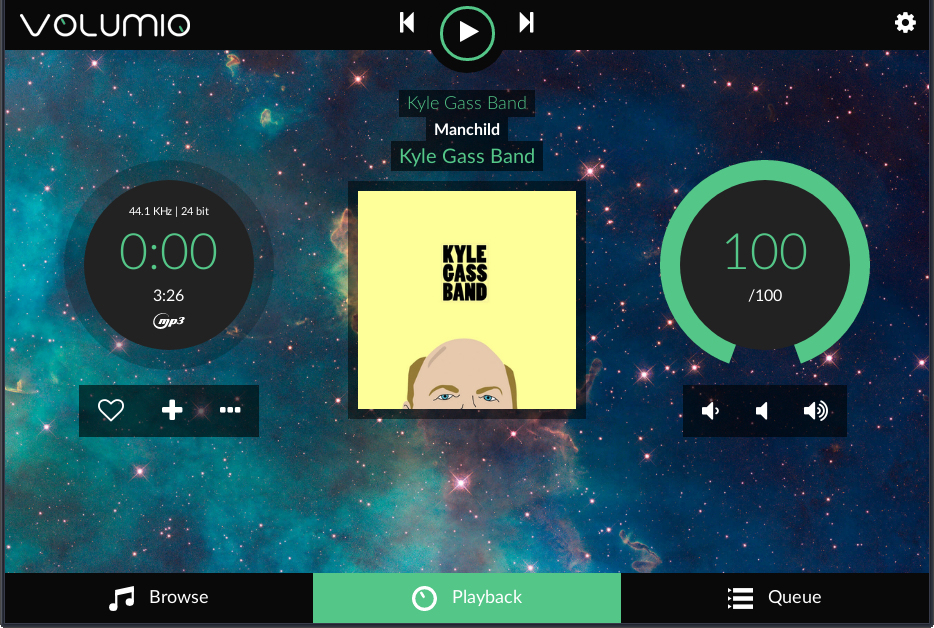
I tested several Software Solutions (Raspbian + VLC, RuneOS, Mopidy, Volumio, etc …) and I think Volumio is the best choice for this kind of project (Even if not perfect). I Chose this OS mostly because it could handle NAS Shares but also Web Radios, Local Files and Spotify.
Moreover, the web application is good enough to run on android (An app exists but useless). Just create a shortcut on your home screen and that’s it.
Volumio supports the PhatDac Out of the Box.
Parts
- 1 x Orange CR6S
- 1 x Raspberry Pi Zero W
- 1 x Pimoroni Phat Dac
- 1 x Adafruit 3W Amp
- 1 x SD Card + Volumio OS
- 1 x Protoboard
- 1 x Dual Logarithmic Potentiometer 50k
- 1 x UBEC 5V converter
- 2 x LEDs
- 1 x Momentary Switch
- 1 x Power Switch
- 1 x Power Input Socket
- 1 x 12V or 9V Power Supply
- Wires
Power Supply
I used a protoboard to wire the power circuit. First, the incoming current goes through the power switch, which allows to turn on/off the circuit. Then, A UBEC 5V converter creates a stable 5V output from the incoming power (9V, 12V).
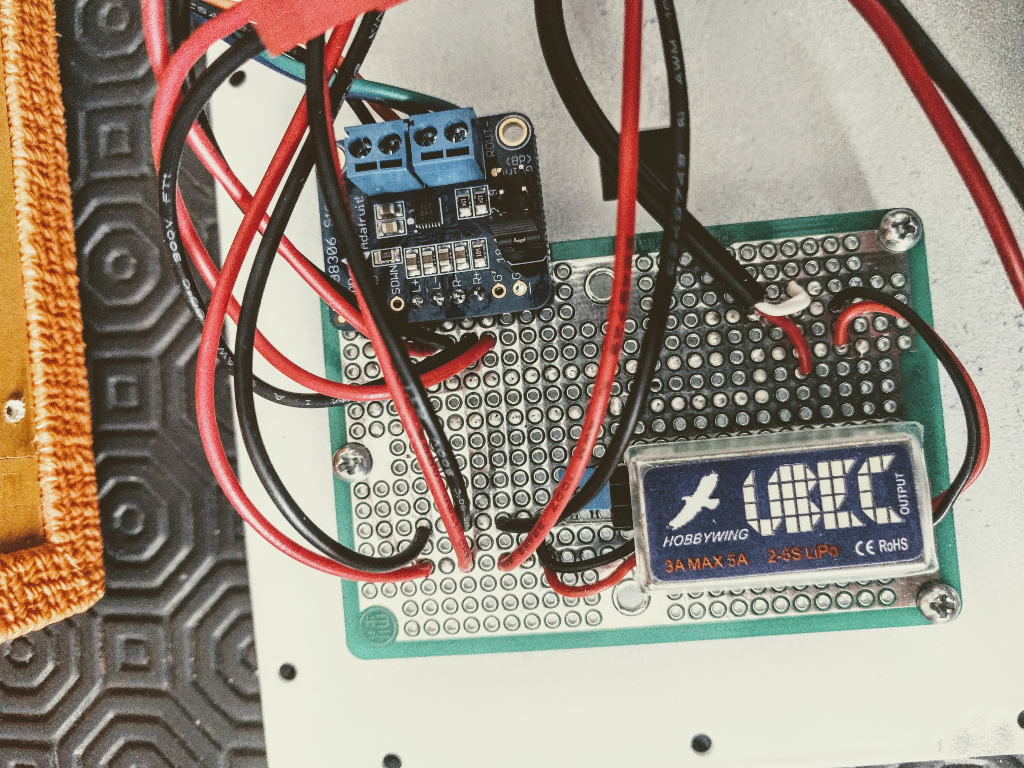
The Raspberry Pi is powered via the USB Power port, whereas the 3W Amp is directly soldered on the board.
Audio
The easiest way to wire the Phat Dac is to use the pinout dedicated to RCA. The smaller hole is the signal, the smaller one is the ground. As said previously, if you don’t use the Software Mixer (not adviced with Volumio), you’ll need potentiometers to control the output volume :
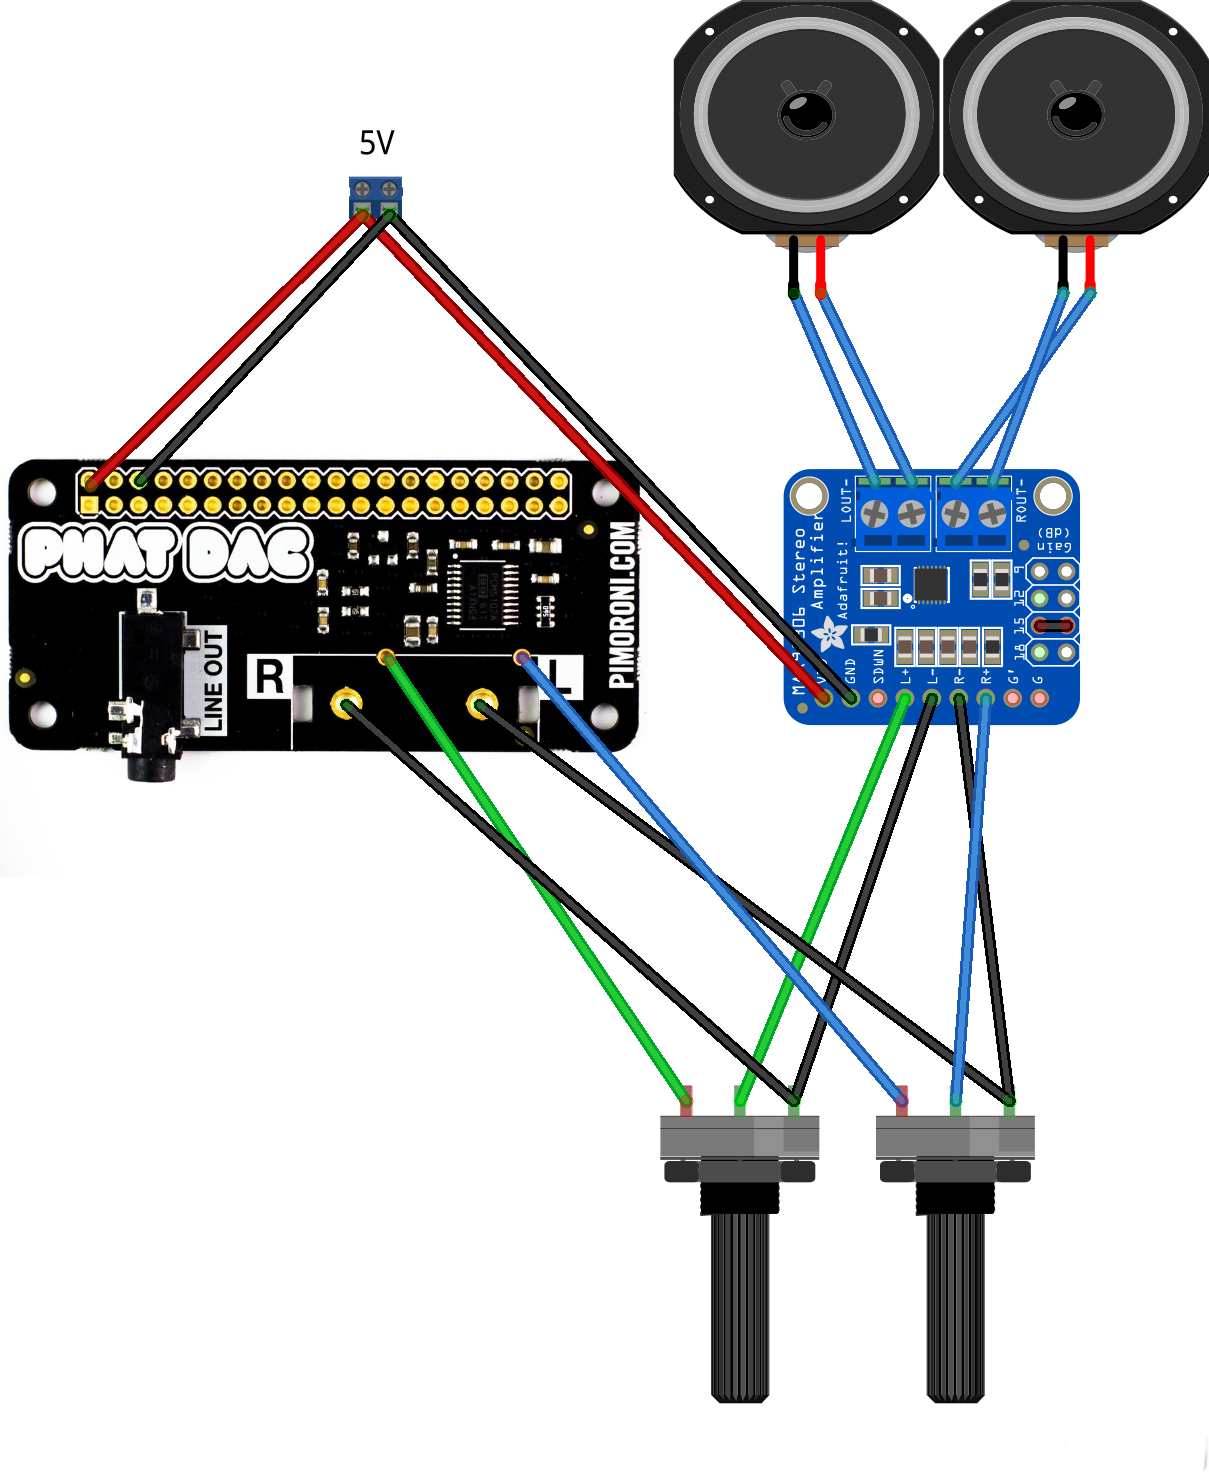
I used a dual portentiometer, which combines the 2 potentiometers in one, this way you can control Left and Right Volume in the same time.
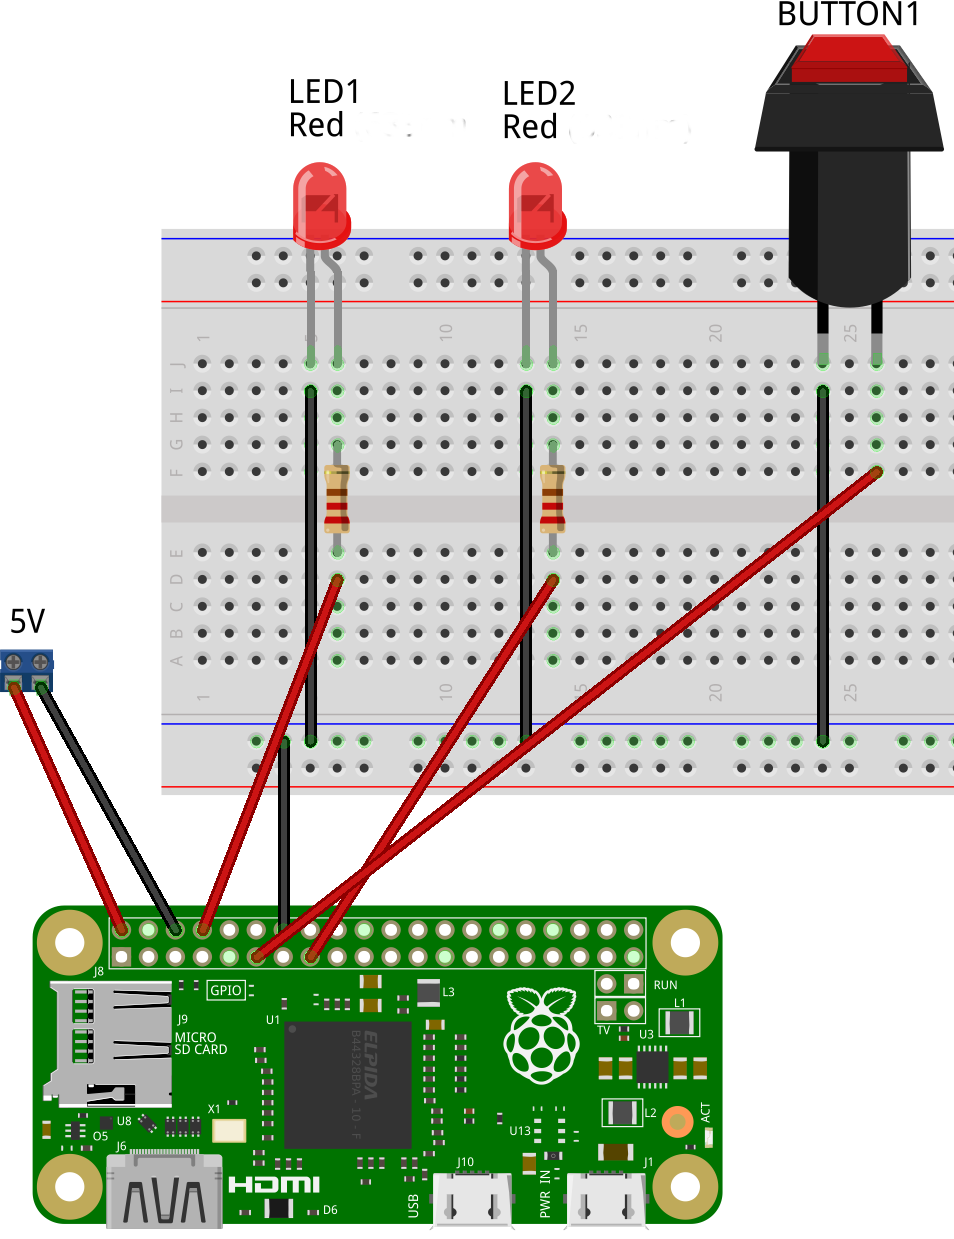
LEDs and Button

I also added Two LEDs and 1 Button :
- BUTTON 1 : Shutdown the Raspberry Pi Operating System. I used the Volumio plugin : GPIO Buttons and configured Pin 17 to shutdown the PI. It is possible to dedicate a button to Play/Pause function as well.
- LED 1 : Indicates if the Raspberry Pi Operating System is started or not. I used the UART tx Pin which stops sending 3.3v when the RPI is in shutdown mode. You’ll just need to enable UART in /boot/config.txt by adding :
enable_uart=1or in some casesdtoverlay=pi3-disable-bt - LED 2 : Indicates if the Volumio Application is Started and Ready. For this I made a Python Script to check if the web interface is ready (Check Web_URL_Checker).